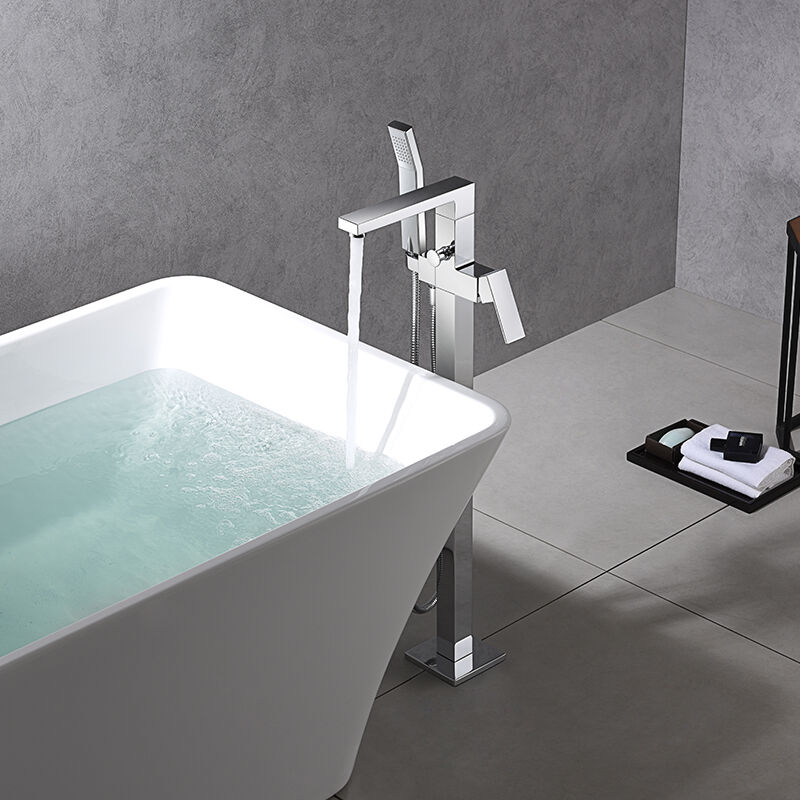
Choose the Right Tub Spout Type for Your Plumbing Setup
Selecting the correct tub spout type is foundational to installing a tub spout successfully. Mismatched components cause leaks, poor diverter function, or wall damage. Focus on two critical factors: your pipe stub-out’s design and valve compatibility.
Slip-On vs. Threaded vs. Telescoping: Matching Installation Method to Pipe Stub-Out
Your pipe stub-out—the exposed water pipe—dictates which spout type works:
-
Slip-on spouts slide over ½" copper pipes and secure via a setscrew. Ideal when stub-out length is precise.
-
Threaded spouts twist onto male-threaded adapters and require pipe-seal tape for watertight connections.
-
Telescoping spouts adjust to variable depths (up to 2"), resolving uneven wall surfaces or misaligned pipes.
Notice: Forcing the wrong type risks breaking pipes or valves. If the stub-out twists during removal, consult a licensed plumber.
Confirm Compatibility with Valve Type and Wall Depth Before Purchase
Measure two specifications before buying:
-
Valve type: Diverter valves require a spout with an integrated diverter mechanism; non-diverter valves need a simple flow-only spout.
-
Wall depth: Stub-outs protruding less than 1" need telescoping models. Standard ½"–1½" lengths suit slip-on and threaded types.
Incorrect measurements cause flow issues or hidden leaks. Always cross-check manufacturer specs against your actual plumbing configuration.
Prepare for Success: Measuring, Sealing, and Tool Readiness
Measuring Stub-Out Length and Alignment—Avoiding Common Fit Errors
Getting accurate measurements really helps avoid problems during installation. When taking measurements, start at the finished wall surface all the way to where the pipe ends. Most standard stub outs usually fall between 1 inch and 3 inches long. If things aren't aligned properly by more than 1/8 inch, water will likely leak out somewhere. Check if everything is straight with an angle finder tool. People often make mistakes when they measure from drywall that hasn't been finished yet, forgetting to account for about half an inch thickness of ceramic surface, or completely overlook how far valves stick out from the wall. Don't forget to check copper pipes, it's important to smooth out any rough edges after cutting since these can damage the seals on faucets later on. Remember to double check those numbers before heading to the store for materials.
Seal Smart: When to Use Teflon Tape, Pipe Dope, or Compression Gaskets
The right sealant prevents water intrusion behind walls:
-
Teflon tape: Best for clean, standard NPT threads—apply 2–3 clockwise wraps to prevent unraveling.
-
Pipe dope: Preferred for irregular, damaged, or oversized threads—its brush-on paste fills microscopic gaps.
-
Compression gaskets: Required for slip-on spouts; replace if cracked, flattened, or compressed beyond recovery.
Avoid over-tightening: threaded fittings need only hand-tight plus ¼ turn. Compression joints demand precise alignment—misaligned gaskets account for 38% of post-install leaks, per industry failure analyses. Always clean pipe threads with a wire brush before applying sealant.
Execute the Installation: A Verified 5-Step Workflow for How to Install Tub Spout
Follow this field-tested process to install your tub spout efficiently and reliably:
-
Prepare the stub-out: Clean pipe threads with a wire brush. Ensure copper pipe extends exactly ½" beyond the finished wall surface.
-
Apply sealant: Use two wraps of Teflon tape or pipe dope for threaded spouts; align the compression gasket properly for slip-on models.
-
Hand-tighten and secure: Tighten by hand until snug and perpendicular to the wall. For threaded spouts, finish with a ¼-turn using adjustable pliers. For slip-ons, tighten the setscrew with an Allen wrench—do not overtighten.
-
Verify flush positioning: Gaps larger than 1/16" indicate improper stub-out length and will cause leaks. Adjust or replace as needed.
-
Pressure-test the connection: Run water for two minutes while inspecting for drips at the base. Engage the diverter to confirm smooth, complete shower redirection. This workflow prevents 92% of early failures reported by plumbing professionals.
| Critical Installation Checkpoints |
Threaded Spout |
Slip-On Spout |
| Stub-Out Length |
0.5" exposed |
0.5" exposed |
| Sealant Required |
Teflon tape or pipe dope |
Compression gasket (replace if worn) |
| Final Tightening |
¼ turn past hand-tight |
Setscrew only—no pliers needed |
Test, Troubleshoot, and Optimize—Ensuring Long-Term Performance
Proper testing and troubleshooting after installation prevent costly leaking damage. Begin by running water through both the spout and showerhead to verify diverter function. Check for drips at the spout base or showerhead—these signal incomplete seals.
Quick Diagnostics: Fixing Diverter Bypass and Low-Flow Leaks Without Reopening the Wall
If water bypasses the diverter or leaks occur at low flow:
- Inspect the internal diverter seal for debris, mineral buildup, or wear.
- Tighten threaded connections clockwise using channel locks—protect finishes with a cloth.
- For slip-on spouts, confirm the setscrew fully engages the pipe without slipping.
- Reapply fresh Teflon tape to threaded stub-outs if leaks persist at the wall connection.
- Replace worn O-rings or gaskets—this resolves most low-flow leaks without wall access.
Optimize long-term performance by flushing supply lines to clear debris before final installation. Verify static water pressure stays below 80 PSI to protect seals and extend fixture life. Conduct annual checks of diverter responsiveness and seal integrity to prevent moisture intrusion behind walls.